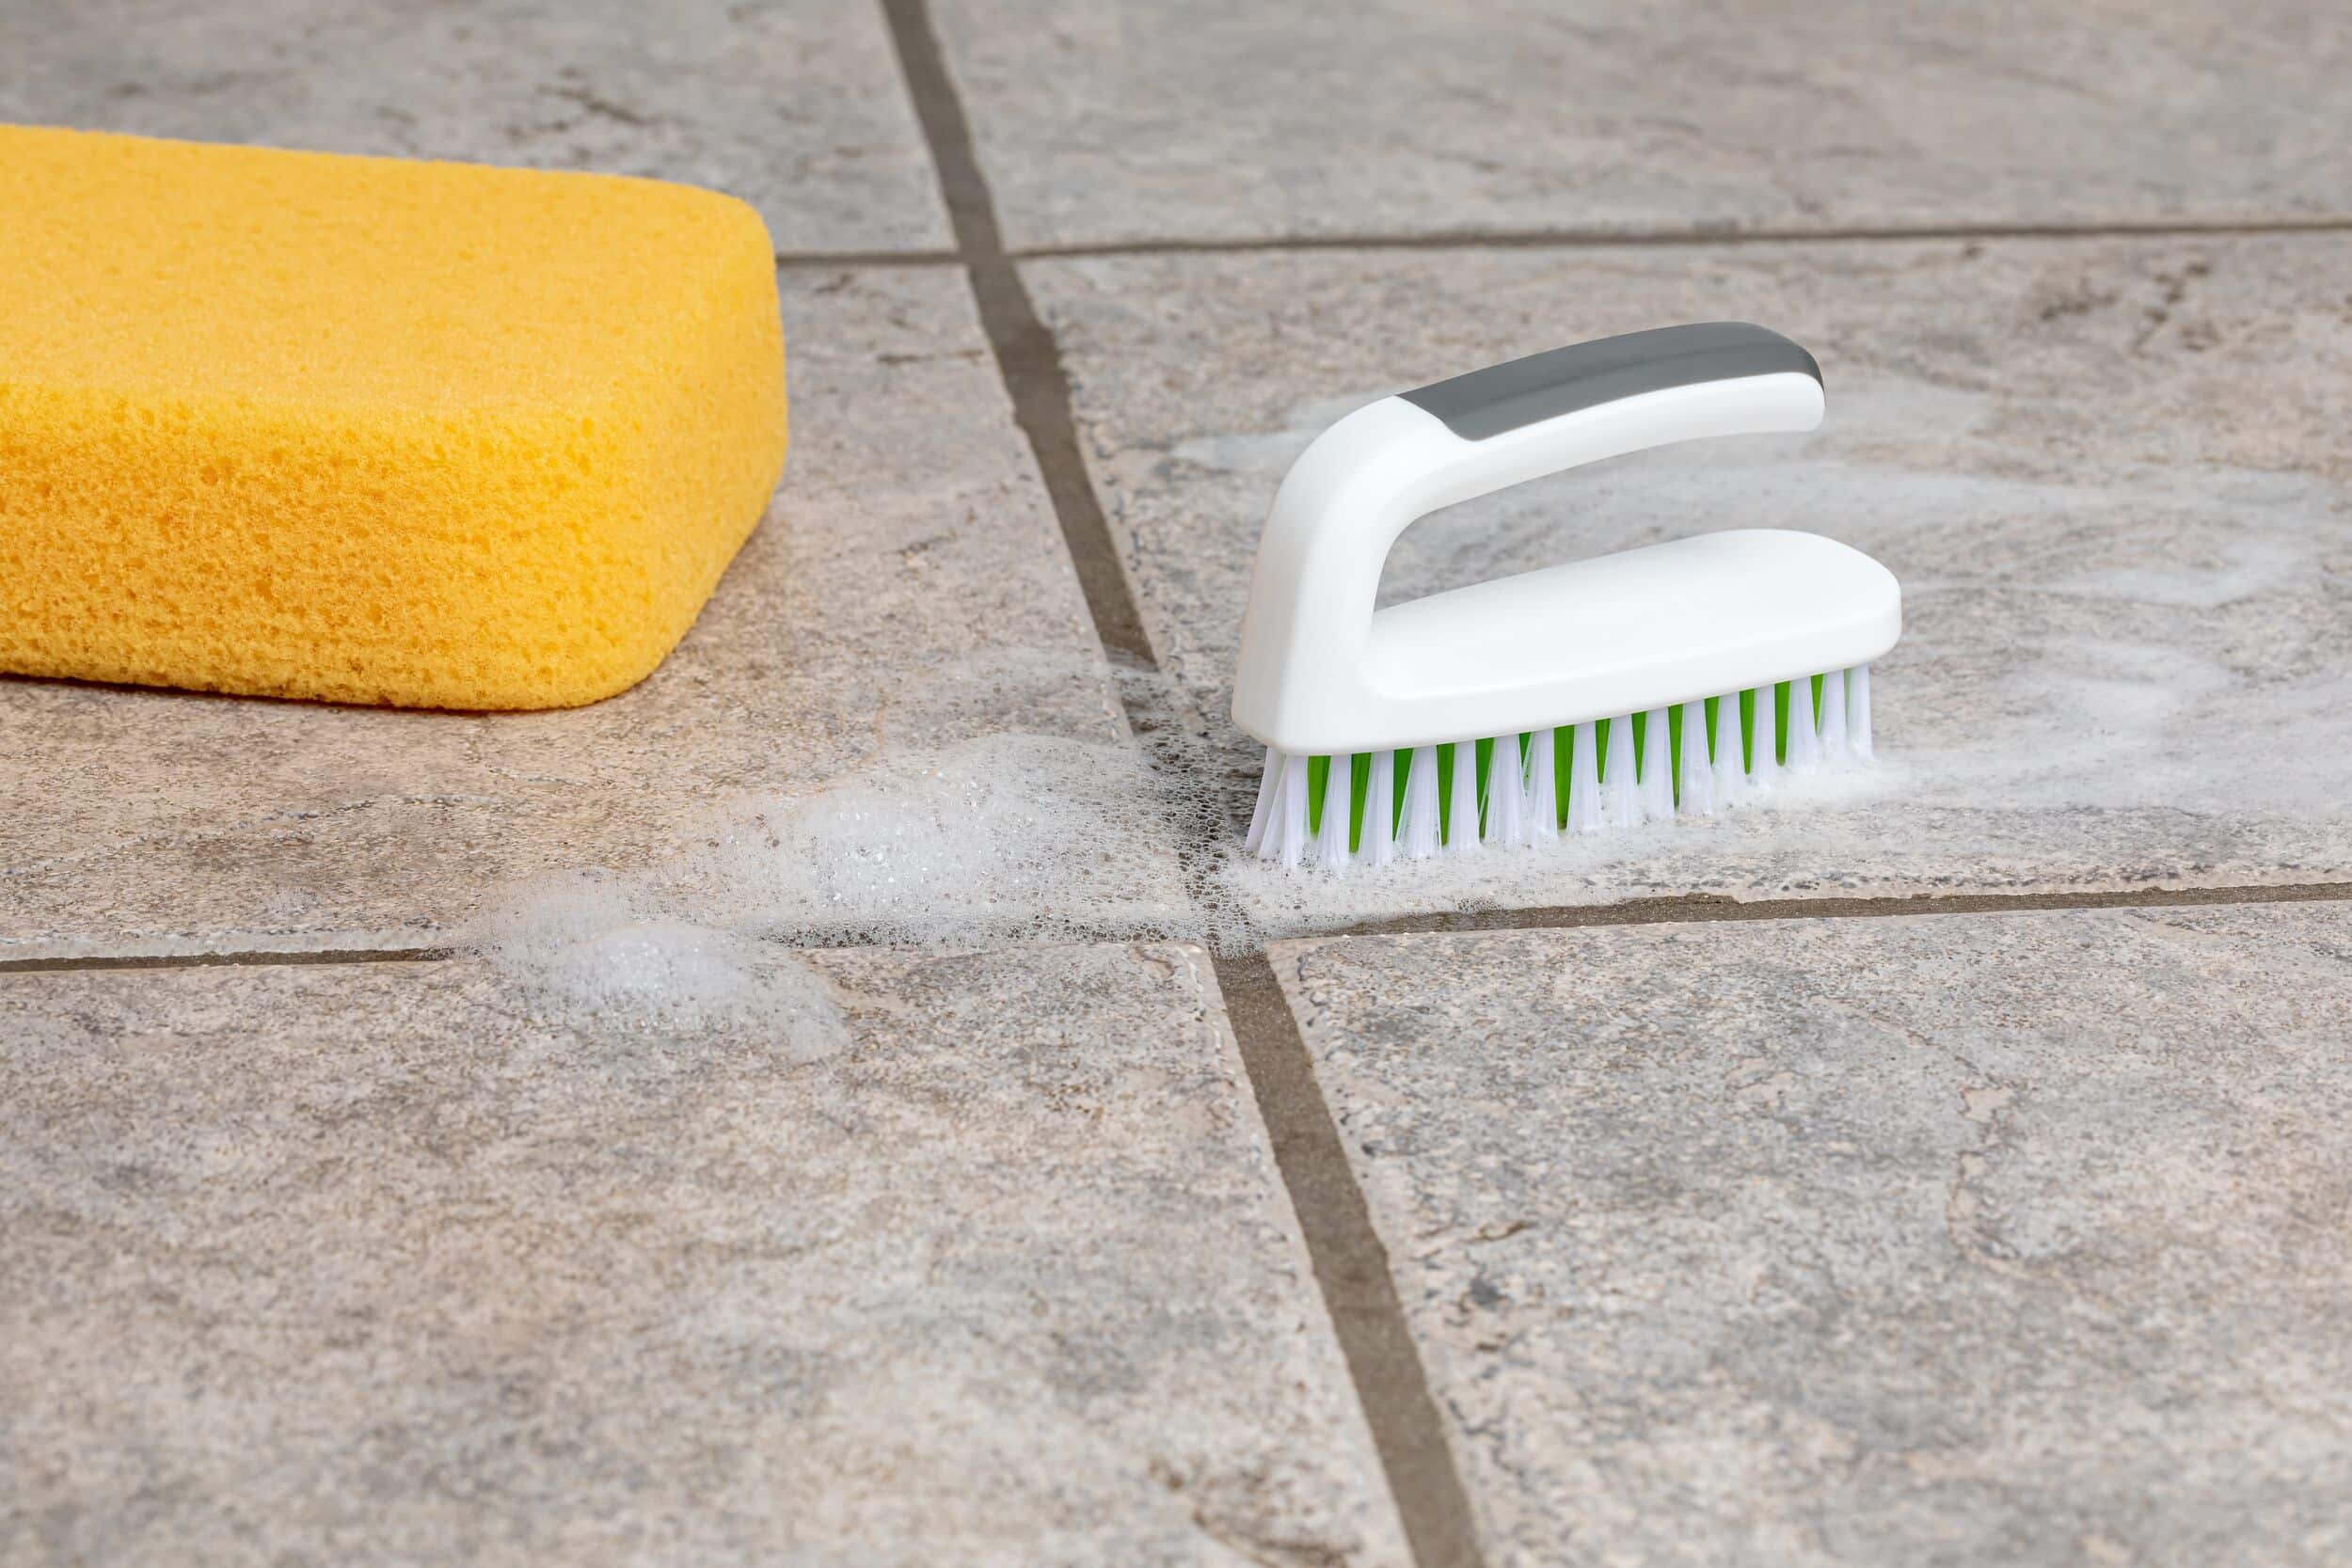
Whiten Grout Fast: Oxygen Bleach Method (safe and simple)
Even the cleanest tile can look tired when the grout between it starts to darken. Over time, those once-bright lines that gave your floor or shower its fresh, finished look turn dull gray or yellow. Soap scum, mold spores, minerals, and everyday grime slowly work their way into the porous surface of grout, making it one of the toughest spots in the home to keep clean.
Most people reach for the strongest thing in the cabinet — chlorine bleach — in hopes of an instant fix. And yes, it may whiten on contact, but at a cost: harsh fumes, surface damage, and potential health irritation. What if there were a way to whiten grout fast without compromising your air, your tile, or your lungs?
Enter the oxygen bleach method — a science-backed, eco-friendly solution that delivers the deep clean and brightening power of bleach without any of the drawbacks. Unlike chlorine bleach, oxygen bleach uses activated oxygen to lift stains, dissolve organic residue, and kill odor-causing bacteria safely and effectively. The result? Bright grout, clean air, and zero chemical sting.
Best of all, it’s simple, affordable, and surprisingly fast with the right ratio of powder and water—and just a few minutes of dwell time—your grout can return to near-original whiteness, no scrubbing marathon required.
In this guide, you’ll learn exactly how to use the oxygen bleach method: what makes it so effective, the step-by-step process, and a few pro tips for keeping your grout bright for the long run. Whether you’re refreshing a bathroom floor, a kitchen backsplash, or a tiled shower wall, this method is as safe as it is powerful — the perfect balance for anyone who wants real results without harsh chemicals.
Understanding Oxygen Bleach: What It Is and Why It Works
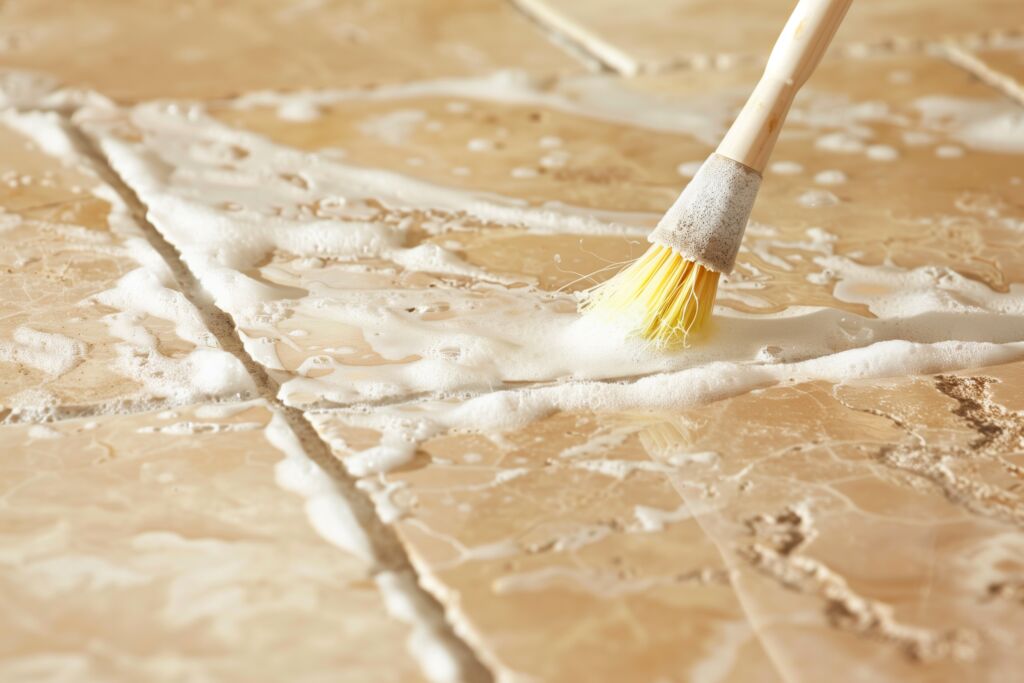
Before diving into the how-to, it helps to know why the oxygen bleach method is so effective—and so much safer than traditional cleaning options. Despite its name, oxygen bleach doesn’t contain chlorine, ammonia, or the harsh chemicals people usually associate with “bleach.” Its cleaning power comes from something much simpler: oxygen.
The Chemistry Behind the Clean
Oxygen bleach is most often made from sodium percarbonate, a powdered compound that’s a mix of natural soda ash and hydrogen peroxide. When dissolved in water, it breaks apart and releases oxygen bubbles. Those tiny bubbles penetrate porous surfaces like grout and lift away deep-set stains, organic buildup, and mildew at the molecular level.
Think of it as a safe, controlled burst of microscopic scrubbing — it brightens not by bleaching color out, but by breaking bonds between dirt and surface.
The result: a brighter, sanitized grout line without fumes, discoloration, or chemical residue.
Why It’s Safer Than Traditional Bleach
Traditional chlorine bleach (sodium hypochlorite) works through oxidation, too, but it’s much harsher. It can erode grout, weaken sealants, corrode metal fixtures, and produce noxious vapors that irritate skin and lungs. Oxygen bleach, on the other hand:
- Releases only oxygen and water as it breaks down — nothing toxic is left behind.
- It won’t damage tile or grout surfaces when mixed properly.
- Has no lingering odor — perfect for small bathrooms or enclosed kitchens.
- It is septic-safe and biodegradable, making it environmentally friendly as well as household-safe.
This means you get professional-level whitening without the side effects that make chlorine bleach so unpleasant (and risky) to use.
Where It Excels
Oxygen bleach shines (literally) anywhere you’ve got tile and grout that’s seen better days:
- Bathroom floors and shower walls: Removes soap scum and mold discoloration.
- Kitchen backsplashes and countertops: Cuts through grease and food residue.
- Entryways or laundry rooms: Lifts mud stains and grime from foot traffic.
It’s especially effective on white or light-colored grout, restoring that crisp contrast that makes your tile pop — but it’s gentle enough for most colored grout, too, as long as you don’t over-soak.
A Cleaner that Breathes, Not Burns
The magic of oxygen bleach lies in its transformation — a powder that activates into a bubbling cleanser the moment it meets water. There’s no harsh smell, no eye-watering fumes, and no damage to finishes. Just clean chemistry doing what it does best: restoring brightness through the power of oxygen.
What You’ll Need: Simple Supplies Checklist
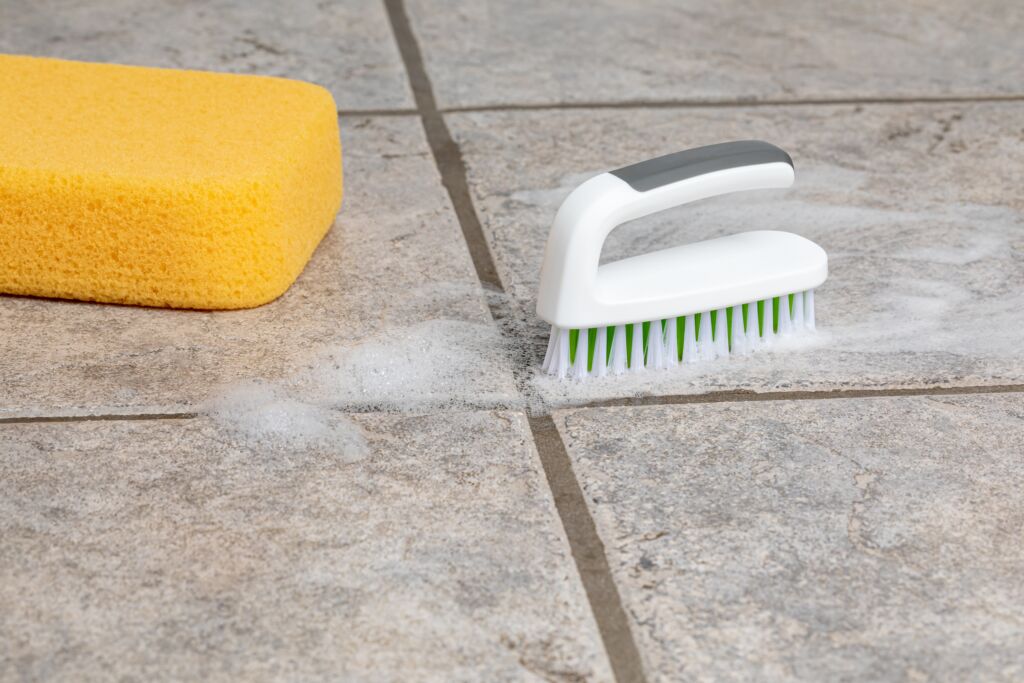
One of the best parts of the oxygen bleach method is its simplicity — no expensive specialty products or harsh chemical concoctions required. Everything you need is likely already in your cleaning cabinet or easy to find at any grocery or hardware store.
Here’s your complete supply list for whitening grout safely and effectively:
Core Cleaning Ingredients
- Oxygen Bleach Powder
The star of the show. Look for sodium percarbonate-based powders — common options include OxiClean™, Bio-Clean Oxygen Bleach, Nellie’s Oxygen Brightener, or any store-brand “oxygen bleach” labeled chlorine-free. - Warm Water
Activates the powder and speeds up the oxygen release. Use comfortably warm water, not boiling, for best results.
Application Tools
- Small Bucket or Mixing Bowl
For dissolving and mixing the oxygen bleach solution. A plastic or glass container works best. - Grout Brush or Old Toothbrush
Choose one with firm bristles to reach into the grout’s pores. Avoid metal brushes—they can scratch tile edges. - Spray Bottle or Squeeze Bottle (optional)
Useful for applying the solution evenly along grout lines, especially on vertical surfaces like shower walls. - Sponge or Microfiber Cloth
For wiping away loosened dirt and cleaning solution after scrubbing.
Protective Gear (Optional, but Recommended)
- Rubber Gloves
While oxygen bleach is gentler than chlorine bleach, it can dry out sensitive skin when used for prolonged periods. - Knee Pads or Towel for Comfort
You’ll likely be working at floor level—a little cushioning helps. - Eye Protection
A good idea if you’re scrubbing above eye level, such as shower walls or backsplashes.
Finishing Tools
- Old Towel or Mop
For drying the area after rinsing. Helps prevent streaks or water spots. - Grout Sealer (Optional, but Smart)
Once the grout is bright and clean, sealing it adds a protective barrier against moisture, mold, and future staining.
Pro Tip: Keep It Fresh
Only mix as much solution as you’ll use in one session.
Oxygen bleach begins releasing oxygen the moment it comes into contact with water, so its cleaning power fades after about 5–6 hours. For best results, make small fresh batches as you go.
With these basic supplies, you’re fully equipped to tackle grout discoloration — safely, affordably, and without filling your home with harsh fumes.
Step-by-Step: The Oxygen Bleach Grout Whitening Method
This is where the transformation happens. The oxygen bleach method is quick, gentle, and surprisingly powerful when done correctly. Whether you’re refreshing the grout in your shower or brightening a kitchen floor, these simple steps will restore clean, crisp lines without the fumes or harshness of chlorine bleach.
Step 1: Prep the Area
Start with a clean surface so the oxygen bleach can reach the grout effectively.
- Sweep or vacuum to remove loose dust, crumbs, or debris.
- Wipe tiles with a damp cloth to lift any surface film of soap or grease.
- Make sure the grout is slightly damp — this helps the cleaner absorb evenly.
- Test first: If your grout is colored or tinted, apply a small amount of solution in a hidden spot to ensure it doesn’t lighten the pigment.
Step 2: Mix the Solution
Oxygen bleach activates when mixed with water — that’s when the “oxygen” does its work.
- Combine two tablespoons of oxygen bleach powder with 2 cups of warm water in your mixing bowl or bucket.
- Stir until the powder is fully dissolved. You’ll see a soft fizz — that’s the oxygen activating.
- For vertical surfaces (like shower walls or backsplashes), create a thicker paste by adding a little less water. The extra density helps it cling to grout lines.
Pro Tip: Mix only what you’ll use in one session — the solution gradually loses power after a few hours.
Step 3: Apply Generously
Now for the magic part.
- Use your spray bottle or pour the solution directly onto the grout lines.
- Allow it to sit and soak for 10–15 minutes — this dwell time is crucial.
- Reapply lightly if the surface starts to dry before time is up. The moisture keeps the active oxygen working.
As it sits, the solution penetrates the grout and lifts out dirt and organic residue — no heavy scrubbing needed.
Step 4: Agitate and Scrub
After the soak, give your grout lines a little manual help.
- Using your grout brush or toothbrush, gently scrub along the lines.
- Work in small sections and let the oxygen do most of the work—you’re guiding it, not fighting it.
- Focus on visibly stained or high-traffic areas, such as entryways or areas near sinks.
You’ll likely see immediate brightening as the dirt lifts out.
Step 5: Rinse Thoroughly
Once scrubbing is complete, rinse away the residue.
- Wipe tiles and grout with a clean sponge or microfiber cloth soaked in warm water.
- Rinse several times if needed until the surface feels clean and smooth, not slick.
- Finish by drying the area with a towel or mop to reveal the results.
You should see an instant improvement — most stains disappear completely, and the remaining few continue to lighten as the grout dries.
Step 6: Optional — Seal the Grout
Once the grout is completely dry (within 24 hours), apply a grout sealer to protect your work.
- This clear coat prevents moisture absorption and keeps dirt from settling back into the pores.
- Sealing once or twice a year helps maintain the brightness and makes future cleaning much easier.
Step 7: Step Back and Admire
Take a moment to enjoy that fresh, restored look — clean grout can make an entire tile surface look newly installed. No chemical haze, no lingering smell, just pure, bright grout and cleaner air.
Why It Works So Well: The Science of Active Oxygen
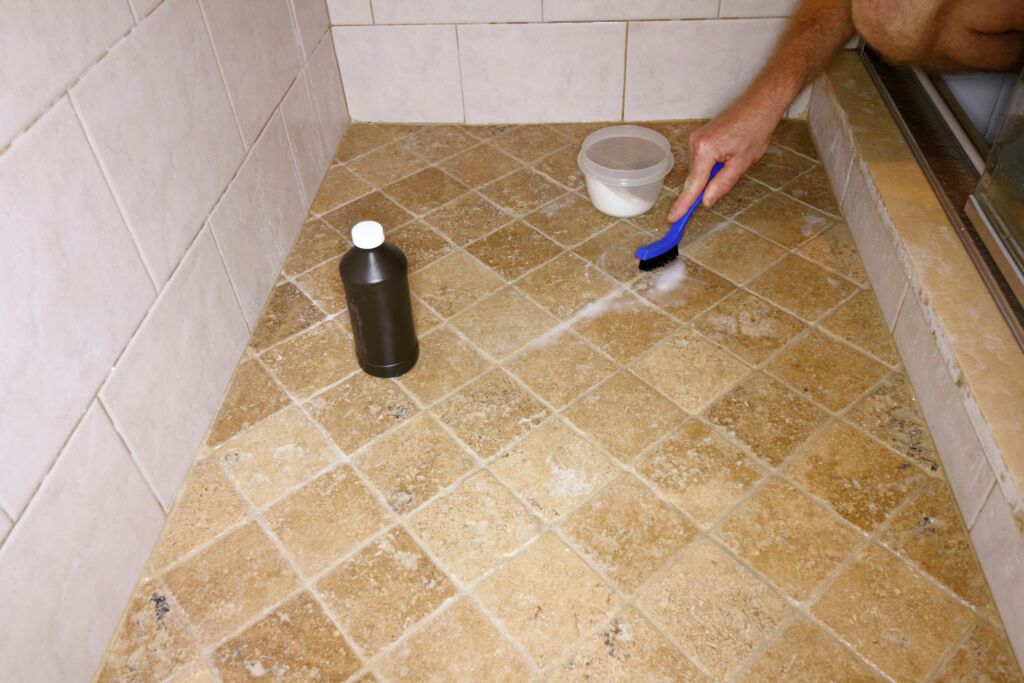
The real power of the oxygen bleach method lies in its chemistry — a safe, natural reaction that uses oxygen molecules to lift and dissolve stains at their source. It’s not magic, and it’s not hype. It’s simple science that works with your grout instead of against it.
The Active Oxygen Reaction
When you mix oxygen bleach (sodium percarbonate) with water, it releases hydrogen peroxide and soda ash (sodium carbonate). Together, these two substances create a cleaning powerhouse:
- Hydrogen peroxide pr
- ovides oxygen molecules that break down organic stains — mold, mildew, soap scum, and body oils — into smaller, removable particles.
- Soda ash slightly raises the water’s pH, making it better at cutting through greasy films and loosening mineral buildup.
The fizz you see when it activates? That’s millions of tiny oxygen bubbles working their way into the microscopic pores of grout, where stains live. Those bubbles lift the dirt up and out — without scrubbing or surface abrasion.
How It Differs from Chlorine Bleach
Chlorine bleach oxidizes too, but in a much more aggressive way. It breaks molecular bonds on contact — often bleaching surfaces rather than actually cleaning them. This can:
- Weaken grout or strip sealant.
- Leave behind a residue that yellows over time.
- Produce strong fumes that irritate lungs and eyes.
Oxygen bleach, by contrast, breaks down only the organic material in the dirt and stains. It doesn’t attack grout binders or tile finishes, and it releases no chlorine gas — just oxygen and water vapor. It’s the difference between erasing the stain and burning the surface.
Why It’s Safe and Sustainable
The byproducts of oxygen bleach’s reaction are completely natural:
- Water.
- Oxygen.
- A small amount of mineral soda ash.
No toxic fumes, no harmful runoff, and no residues that linger. That makes it safe not only for you and your family but also for pets, plants, and the environment. In fact, it’s one of the few cleaning agents that professional green cleaners and environmental scientists both recommend.
Long-Lasting Brightness
Because oxygen bleach actually removes embedded stains instead of coating them, the results last longer. Grout stays whiter for months since there’s no sticky residue left behind to attract new dirt. A quick monthly refresh with a diluted solution helps maintain that just-cleaned brightness with minimal effort.
The Bottom Line
Oxygen bleach works at a molecular level to restore your grout’s true color — not by painting it white, but by freeing it from everything that’s been dulling it. It’s a perfect blend of power and gentleness: chemistry doing exactly what nature intended — cleaning through oxygen and water.
Safety and Surface Tips
Oxygen bleach is one of the safest and most user-friendly cleaners you can keep in your home — but like any chemical reaction, it deserves a little respect. Following a few key guidelines ensures you’ll get the whitening power you want without damaging your tile, grout, or surrounding surfaces.
Know Your Surfaces
Oxygen bleach is safe for most common tile and grout materials, but it’s not universal.
- Safe for: Ceramic, porcelain, glazed tile, sealed grout, and most man-made stone surfaces.
- Use caution with: Natural stone such as marble, travertine, limestone, and granite — these materials are porous and can be etched or dulled by alkaline cleaners like soda ash. If you’re unsure, test a small hidden spot first.
- Avoid on: Unsealed grout or unfinished stone surfaces until they’re properly sealed.
When in doubt, always patch-test before applying the full solution.
Mix Wisely
- Don’t use hot or boiling water. Warm (not steaming) water activates oxygen bleach at a steady, controlled rate.
- Avoid mixing with acids like vinegar or lemon juice — they neutralize the bleach reaction and make it ineffective.
- Never combine with chlorine products or ammonia; while oxygen bleach itself is non-toxic, mixing with other chemicals can create unwanted reactions.
Handle with Care
Even though oxygen bleach is much gentler than chlorine, it’s still a cleaner.
- Wear rubber gloves if you have dry or sensitive skin — the soda ash can be mildly drying.
- Keep the solution away from fabrics or colored towels, as they might lighten if left soaking.
- Store the powder in a cool, dry place, tightly sealed; moisture in the air can activate it prematurely.
Ventilation and Timing
- Work in a well-ventilated area—not because of fumes, but to help the solution dry faster and prevent mold regrowth.
- Don’t leave the solution sitting longer than 20 minutes. Once the fizzing stops, the active oxygen has done its work. Wipe, rinse, and dry promptly for the best shine.
- Keep pets and kids off wet tile until it’s dry — not because it’s toxic, but to avoid slips and streaks.
If You’re Cleaning Colored Grout
Colored grout can be safely treated with oxygen bleach, but limit the dwell time to 5–8 minutes before scrubbing and rinsing.
Pro tip: mix a weaker batch (1 tablespoon powder per 2 cups warm water) for routine touch-ups. This maintains brightness without lightening the tint.
Disposal and Environmental Notes
Leftover solution can simply be poured down the drain — it breaks down into oxygen, water, and soda ash within hours. Wipe up any spills with a damp cloth, and remember that because it biodegrades quickly, you’ll always want to mix fresh batches before each use.
The Rule of Gentle Power
Oxygen bleach proves that safety doesn’t mean weakness — it’s powerful enough to tackle deep grime but mild enough to use around family and pets. Treat it with care, mix it fresh, and let it work naturally. Your grout (and your lungs) will thank you.
Fast Results, Lasting Brightness
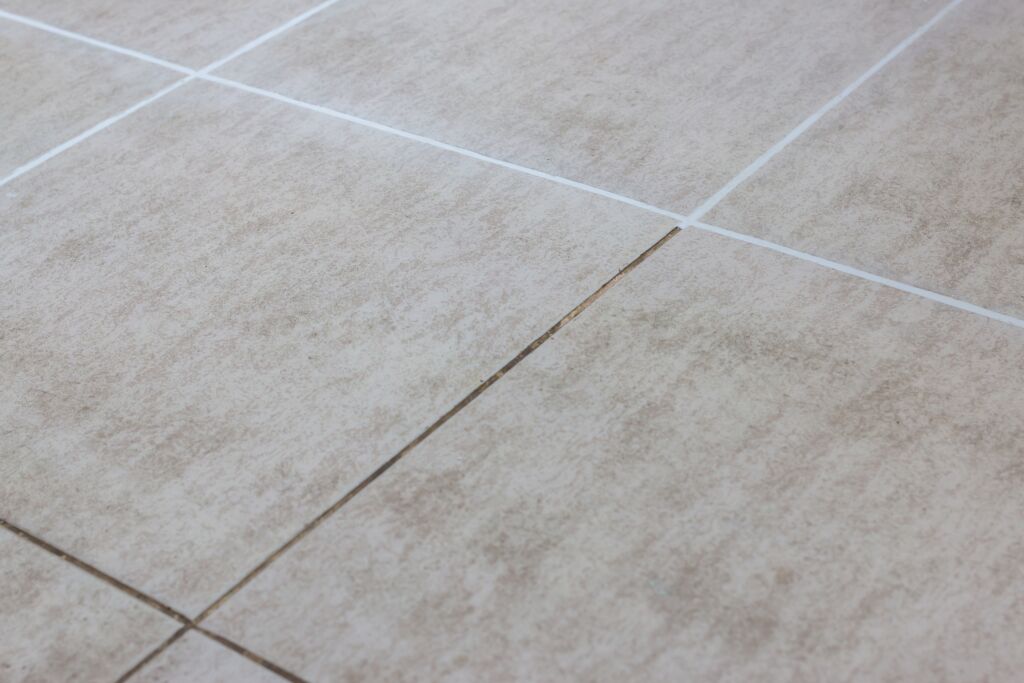
The beauty of the oxygen bleach method is how quickly you see results. Within minutes, you’ll notice dull, discolored grout lines turning crisp and clean — often without the need for back-breaking scrubbing. But what makes this method truly exceptional isn’t just the instant brightness — it’s how easy it is to maintain that brightness long-term.
Immediate Impact
After your first cleaning, the change is dramatic:
- Visible whitening: Grout regains its original color and clarity, removing years of grime in one session.
- Fresh, neutral scent: There’s no harsh chemical odor, only clean, breathable air.
- Healthier surface: Oxygen bleach not only lifts stains — it also sanitizes, breaking down organic matter such as mildew, soap residue, and bacteria.
Even stubborn spots continue to lighten as the grout dries, giving it a naturally brighter tone by the next day.
Pro Tip: If you spot minor discoloration after drying, a second round on only those lines will usually bring them to full brightness.
Keeping Grout Bright for Months
Clean grout doesn’t stay white by accident — it stays white because it’s protected. Here’s how to preserve your fresh results for the long run:
- Seal After Cleaning
- Once the grout is fully dry (usually after 24 hours), apply a clear grout sealer.
- This creates a protective barrier that repels moisture and dirt, slowing future staining.
- Reapply every 6–12 months, depending on foot traffic and humidity.
- Weekly Maintenance Wipe
- Mix a light solution: 1 teaspoon of oxygen bleach in a quart of warm water.
- Wipe grout lines with a cloth or mop to maintain brightness without re-scrubbing.
- Use a Neutral Cleaner Between Deep Cleans
- Stick to pH-balanced cleaners for routine tile cleaning. Avoid acids, such as vinegar, which can degrade sealer and grout over time.
- Keep Moisture in Check
- Run an exhaust fan or open a window in bathrooms to prevent mold.
- Wipe shower grout dry after use — even once a day makes a difference.
- Quick Spot Fixes
- For small spills or new stains, sprinkle a bit of oxygen bleach powder onto a damp sponge, then dab the area. Quick treatment prevents deep discoloration later.
Long-Term Benefits of Oxygen Bleach Cleaning
Beyond brightening, regular oxygen bleach maintenance actually improves grout durability. Because they leave no acidic or chlorinated residue, grout binders remain stronger, resisting crumbling and pitting. Plus:
- Less mold regrowth.
- Fewer odors are caused by trapped moisture.
- Longer-lasting tile sealant and surface polish.
What starts as a whitening method quickly becomes a complete grout health routine.
A Small Habit with Big Payoff
Spend a few minutes once a month maintaining your grout, and you’ll never have to wage war against it again. Oxygen bleach isn’t a one-time miracle — it’s a gentle, sustainable habit that keeps tiles looking new for years.
Bright grout lines don’t just make your floors and walls cleaner — they make your whole space feel newer, fresher, and lighter. That’s the real reward of safe, science-based cleaning: beauty that lasts.
Quick Comparison: Oxygen Bleach vs. Chlorine Bleach vs. DIY Alternatives
Not all “grout-whitening” products are created equal. The chart below shows how oxygen bleach stacks up against two of the most common alternatives—traditional chlorine bleach and gentle DIY options such as vinegar + baking soda.
| Feature | Oxygen Bleach | Chlorine Bleach | DIY (Vinegar & Baking Soda) |
| Primary Agent | Sodium percarbonate → releases oxygen & soda ash | Sodium hypochlorite (chlorine base) | Mild acids & abrasives |
| Whitening Power | Deep-clean and brighten without damage | Instant whitening, but surface corrosion over time | Light brightening only |
| Fume Safety | Odor-free and low-VOC | Strong fumes and irritating vapors | Safe and low-odor |
| Surface Safety | Safe for most ceramic and porcelain tiles | Can etch glaze and weaken grout | Safe but ineffective on heavy stains |
| Residue Left Behind | None (fully rinses clean) | Chalky film or yellowing over time | Baking soda grit if not rinsed |
| Environmental Impact | Biodegradable & septic-safe | High chlorine toxicity in runoff | Eco-friendly but low performance |
| Ease of Use | Mix → apply → wait → rinse | Harsh handling and ventilation are required | Gentle but labor-intensive |
| Best Use Case | Every day deep clean & whitening | Emergency mold removal only | Quick refresh on light grime |
Reading the Table: What It Really Means
- Oxygen bleach gives you the strength of professional cleaning with the safety of natural chemistry.
- Chlorine bleach delivers speed but damages grout, releases fumes, and shortens tile life.
- DIY mixtures are safe, but can’t handle deeply embedded stains or mold.
For busy households or anyone sensitive to chemical odors, oxygen bleach offers the ideal middle ground—it works fast, smells neutral, and protects your surfaces.
The Smart Choice
If you can only keep one grout cleaner in your home, make it oxygen bleach. It’s safe for regular maintenance, powerful enough for deep restoration, and versatile enough for nearly every tiled surface. Clean air, bright grout, and peace of mind — all in one simple solution.
Conclusion: Safe, Fast, and Surprisingly Powerful
Whitening grout doesn’t have to mean harsh chemicals, endless scrubbing, or that sharp bleach smell that lingers for days. With the oxygen bleach method, you get all the power of deep cleaning without the hazards — a smarter, safer way to restore brightness that lasts.
This method works because it relies on science, not strength. The active oxygen gently lifts stains from deep within porous grout, leaving clean, crisp lines that make tile surfaces look brand-new again. There’s no burning odor, no corrosion, and no toxic residue — just the clean scent of nothing at all.
The results are fast, visible, and lasting. In under half an hour, you can transform dull grout into a surface that brightens your entire room. And when paired with simple monthly maintenance, your floors, showers, and backsplashes stay bright with minimal effort.
More importantly, oxygen bleach proves that strong cleaning doesn’t have to be harsh. It’s the perfect balance between effectiveness and environmental care — tough on stains, gentle on grout, and safe for every member of your household.
So the next time you glance down and see gray grout lines, skip the chlorine and grab the oxygen. Your tiles will shine brighter, your air will stay cleaner, and you’ll discover just how simple real cleanliness can be.
Because when cleaning is done right, it doesn’t just look better — it feels better, too.

